How do I import the Captor DOS project into PTW?
The following steps can be used for importing the Captor DOS projects.
1) First import the Captor DOS library files to a single library file used in PTW version 4.0 and later. So go to MS Windows "Start>Programs>Power Tools for Windows v..." and run the "DOS Captor Library Import" utility (you can also run the "ImpLib.exe" file from the "bin" subfolder of the PTW installed directory) to see the following dialog box.
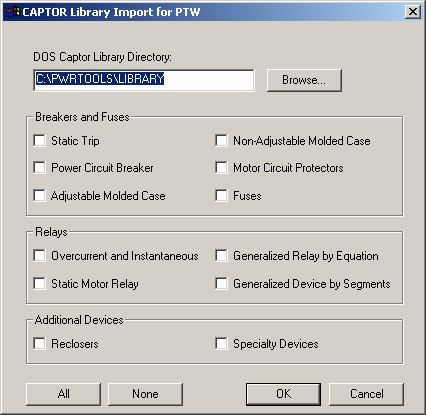
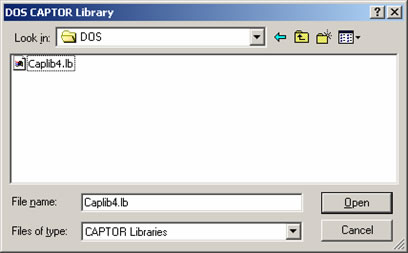
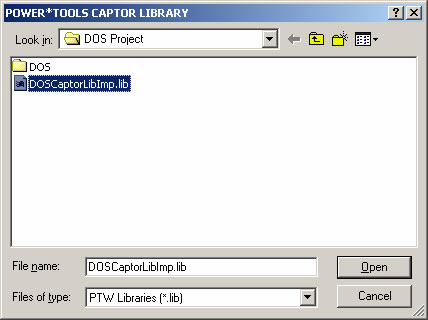
2) Press the Browse button in front of the DOS Captor Library Directory to select and open the respective library files. The DOS Captor Library file name are in the format of CL*.LB with different files for Breaker, Relay, fuse, etc but this utility looks for a file named CAPTORLB.LB or CAPLIB4.LB to start with. If any of these files cannot be found but the rest of the device library files are available then you can just copy and rename any of the device library files instead.
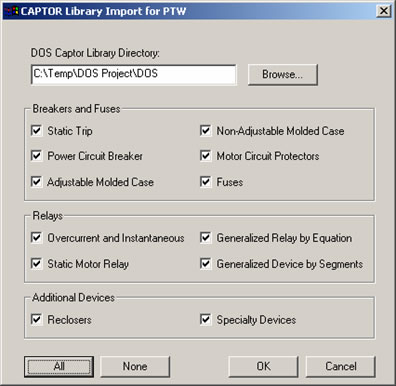
3) Then check the boxes for existing devices in the said library file and hit OK to start importing.
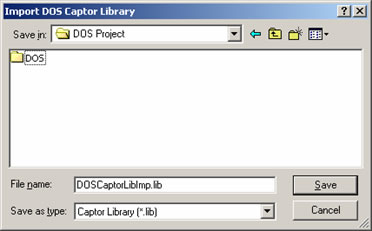
4) You will be asked about the name and location of the destination PTW library file (*.lib) to be created. This file is created from scratch so if you select an already existing library file like the imported Dapper DOS library file to PTW, this file will be overwritten and the Dapper imported categories will be lost.
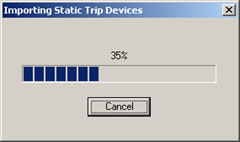
5) The progress of Import is displayed in a dialog box till it is done.
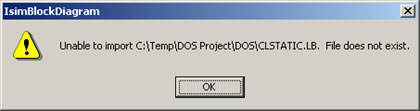
6) You may get the following error message if the selected device library file could not be found for import. Hit OK to import the rest of the devices.
7) Now you need to Import the Captor project. So copy the Captor DOS project files (*.PC1, *.PC2, *.PC3, ...) to a temporary folder and try to keep the character length of the path low (In the very old versions of Captor DOS project these files were named as *.TC1, *.TC2, *.TC3, � and you need to use a utility named MTC2PC.EXE for conversion of these files to PC extension).
8) Make sure the folder and the copied files are not read only.
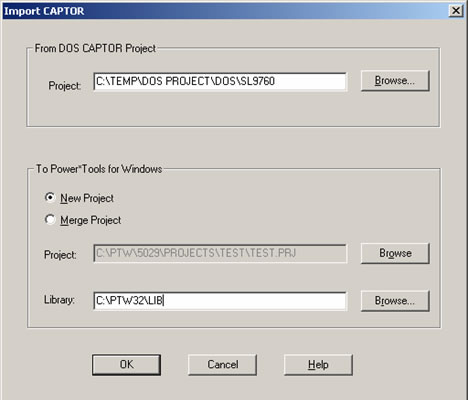
9) Go to MS Windows "Start>Programs>Power Tools for Windows v..." and run the "DOS Dapper Captor Project Import" utility (you can also run the "Import.exe" file from the "bin" subfolder of the PTW installed directory) to see the following dialog box.
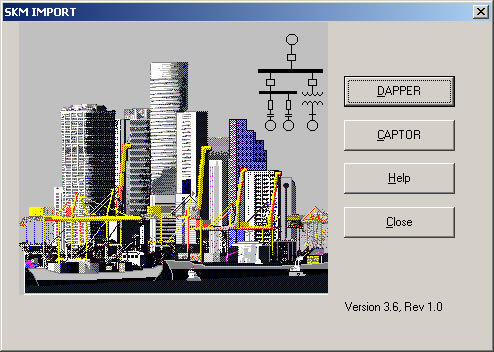
10) Hit Captor button to import the Captor DOS project.
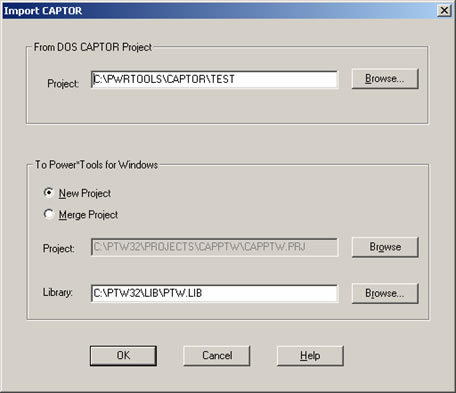
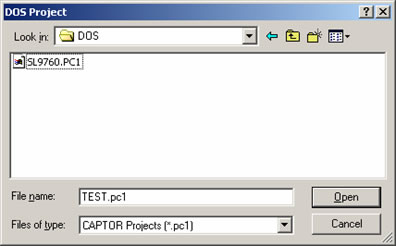
11) Press the Browse button in front of the Project path for From DOS CAPTOR project and select the first Captor DOS project file (*.PC1) and hit Open button.
12) Although you can select the option for New or Merge the Captor project into the existing Dapper project, it is recommended to do the import to a new project first and then merge the two projects to avoid any probable problem.
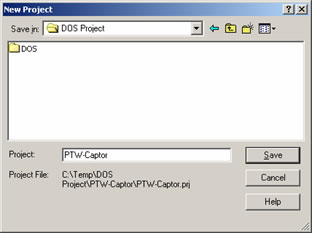
13) Press the Browse button in front of the Project for To Power tools for Windows though it is grayed out and put a name for the new PTW Captor project and hit the Save button.
14) Press the Browse button in front of the Library path for To Power Tools for Windows and introduce the already imported Captor library file as the reference to the project protective devices.
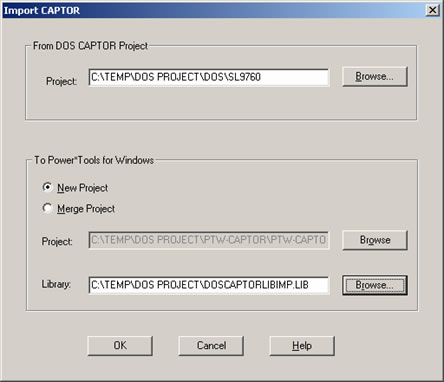
15) Now you are ready to import the project so just hit OK and you should be able to see the progress of importing the project.

16) You will receive the following message when the project is successfully imported.

17) Now you can open the imported Captor DOS Imported project in the latest version of PTW.
18) It should be noted that:
- The ground fault protective devices cannot be imported from the DOS version library of Captor so you need to reassign such devices from the current library, if there is any.
- The TCCs may need some cleaning after importing to properly display the curves and labels.
If you have additional questions, please feel free to contact tech support.